Happy New Year! Let’s kick it off with a blanket that works up super fast and is so cuddly.
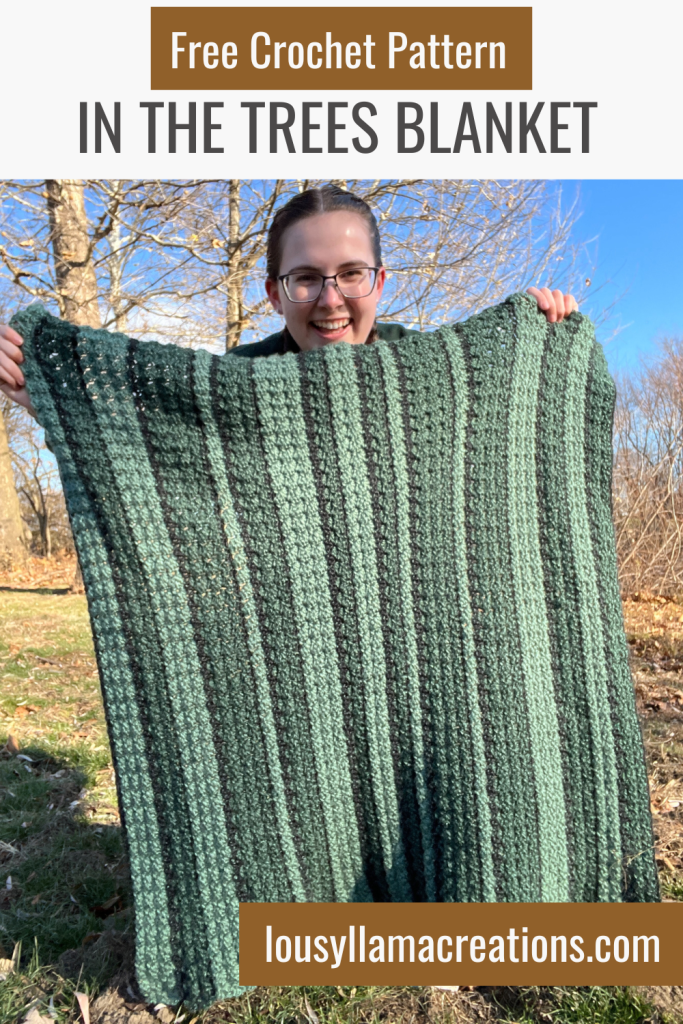
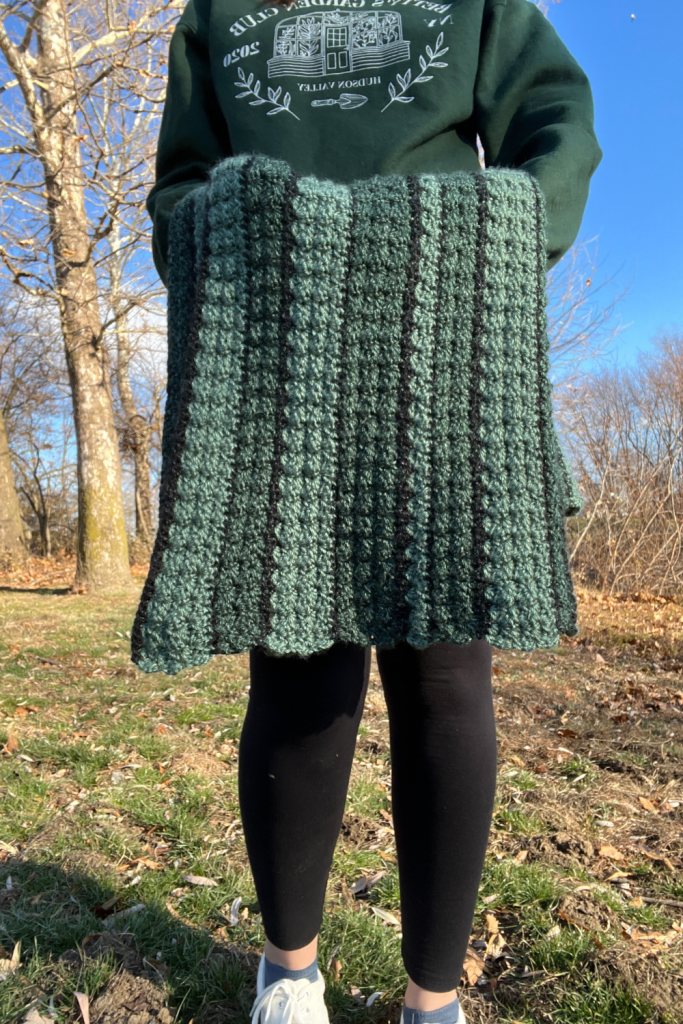
This blanket uses Lion Brand Heartland yarn which is SO SOFT. I loved working with this yarn because it’s just so soft to work with. I chose two greens and a black to create the look of long pines and to remind me of summer while I’m in the middle of my first Fort Wayne, Indiana winter.
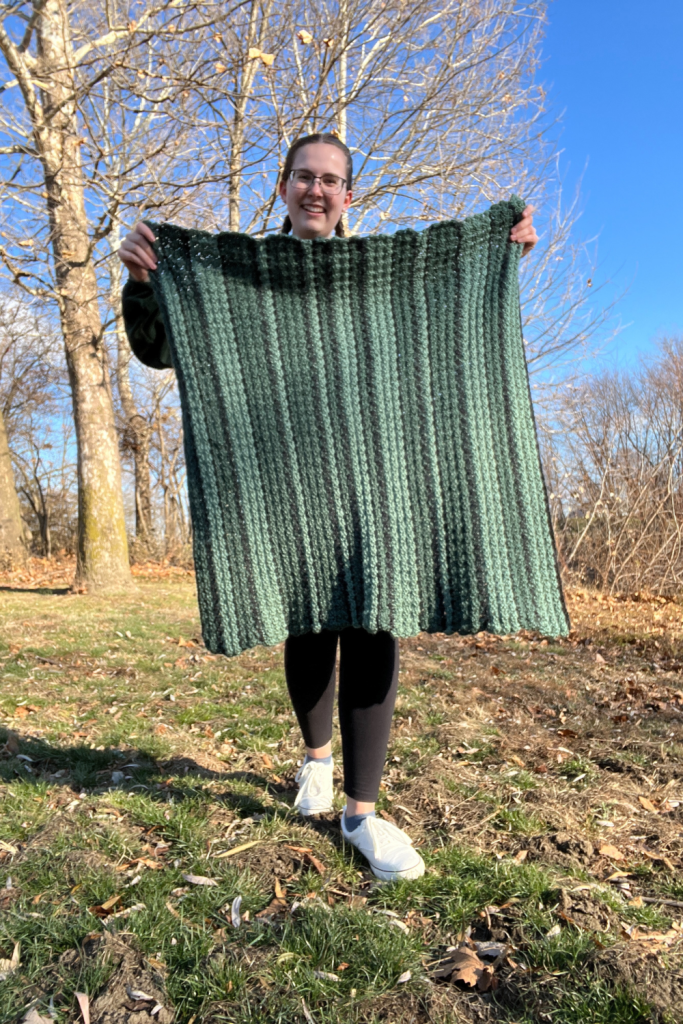
In the Trees Blanket is in a baby blanket size but you can chain any multiple of 3 for any sized blanket. It uses the sedge stitch which creates fluffy texture and works up quickly.
This is the first part of the series but I also made a hat and scarf to match!
I named it In the Trees after a line in a Taylor Swift song I really like! If you know me, you know I love Taylor Swift and I often get inspiration for different patterns through her lyrics. For those who care, the line is “please picture me in the trees / I hit my peak at seven feet” from the song “seven,” which to me, reminds me of the summer friendships and fun I had at summer camp growing up. The named seemed like a perfect match.
Links:
- You can get an ad-free PDF of the pattern here on Etsy
- Lion Brand Heartland Yarn was used and I highly recommended uses this yarn if you want a soft texture. The yarn also has little strands of white intermixed which helps create more dimension to the blanket
Description:
Cozy and warm, In the Trees Blanket is a piece that works up quickly and creates a look of pine trees in the forest. This blanket can be made in multiple sizes and uses the sedge stitch and single crochet rows to build the texture.
Skill Level:
Confident Beginner
Materials:
- Worsted Weight (4) Yarn, Lion Brand Heartland Yarn in Rocky Mountains (2 skeins), Kings Canyon (2 skeins), and Black Canyon (1 skein). Each skein is 250 yards and 5 ounces.
- J / 6mm crochet hook
- Tapestry needle
- Scissors
Gauge:
10 hdc by 7 rows = 3.5 x 2.5 inches
Finished Size:
30.5 inches x 32 inches
Notes:
- The chain 1 in the beginning does not count as a stitch, do not count it and do not crochet into it
- The chain 1 in the beginning can be a little difficult to see. It’s easy to assume it’s a stitch and crochet into it. You might want to use a stitch marker to mark it to avoid it. Making sure you always end on the single crochet can help but when you complete the single crochet rows of black, be mindful to avoid the chain 1. The edges almost have bumps – not a straight edge.
- I used a random color generator in row groups of 2 to create this look! In the pattern, I share the number of rows for each color so the amount of each green is used (almost) evenly but you can create your own unique look with random striping in rows of 2 for each green and then the black in between. For each row, the counts are either 2 rows, 4 rows, or 6 rows.
- There is no outside boarder on the finished blanket but I did play around with a row of single crochets in black along all four edges and it did look nice! That is an option if you don’t like raw edges.
- Weave in ends as you progress
- I attempted to not fasten off each color but I did not like how it looked. It creates a much cleaner look if you fasten off each color and weave it in
- The pattern is written in English with US crochet terminology
Stitches and Abbreviations:
- ch – chain
- sc – single crochet
- hdc – half double
- dc – double crochet
Pattern:
Start in black and chain 120 (or any multiple of 3 for any additional size but note that it will take more yarn!)
Row 1: Begin in the 2nd chain from hook. Sc into each chain across the row. Ch 1 and turn (119)
Switch to light green
Row 2: In the next stitch, hdc and dc. Skip 2 stitches. Sc, hdc, dc in the same stitch. [Skip 2 stitches, sc, hdc, dc in the same stitch] repeat until 1 stitch remains. Sc in last stitch. Ch 1 and turn. (119)
Row 3-7: Repeat row 2
Switch to black
Row 8: Sc in each stitch. Ch 1 and turn.
Continuing on, you can either follow the color changes I have below or randomly change the number of rows for each green. After each section of green, sc 1 row in black and then switch to the other green. Below are the numbers of each stripe I made for each green. Feel free to also use a random striping generator!
Starting in the beginning:
Light green: 6 rows
Dark green: 4 rows
Light green: 6 rows
Dark green: 6 rows
Light green: 2 rows
Dark green: 4 rows
Light green: 6 rows
Dark green: 2 rows
Light green: 4 rows
Dark green: 2 rows
Light green: 2 rows
Dark green: 6 rows
Light green: 2 rows
Dark green: 6 rows
Light green: 6 rows
Dark green: 4 rows
Light green: 4 rows
Dark green: 4 rows
Don’t forget to weave in all of those ends!
I hope you had a great time making this blanket! If you have any questions, feel free to comment or reach out to me so I can answer them. If you use this pattern, I would love for you to share over social media and tag me @lousyllamacreations. I can’t wait to see them.
Disclosure: This post may contain affiliate links at no cost to you. This pattern may not be sold or redistributed in part of whole but you can sell any product you make with it.
®Kendall Waltz – Lousy Llama Creations