In crochet, chains are the foundation to almost every piece you make. For different types of pieces, you usually make a specific amount of chains and then put your stitches (your single crochet, double crochet, etc.) into the chains. Chains give us a place to put our stitches somewhere.
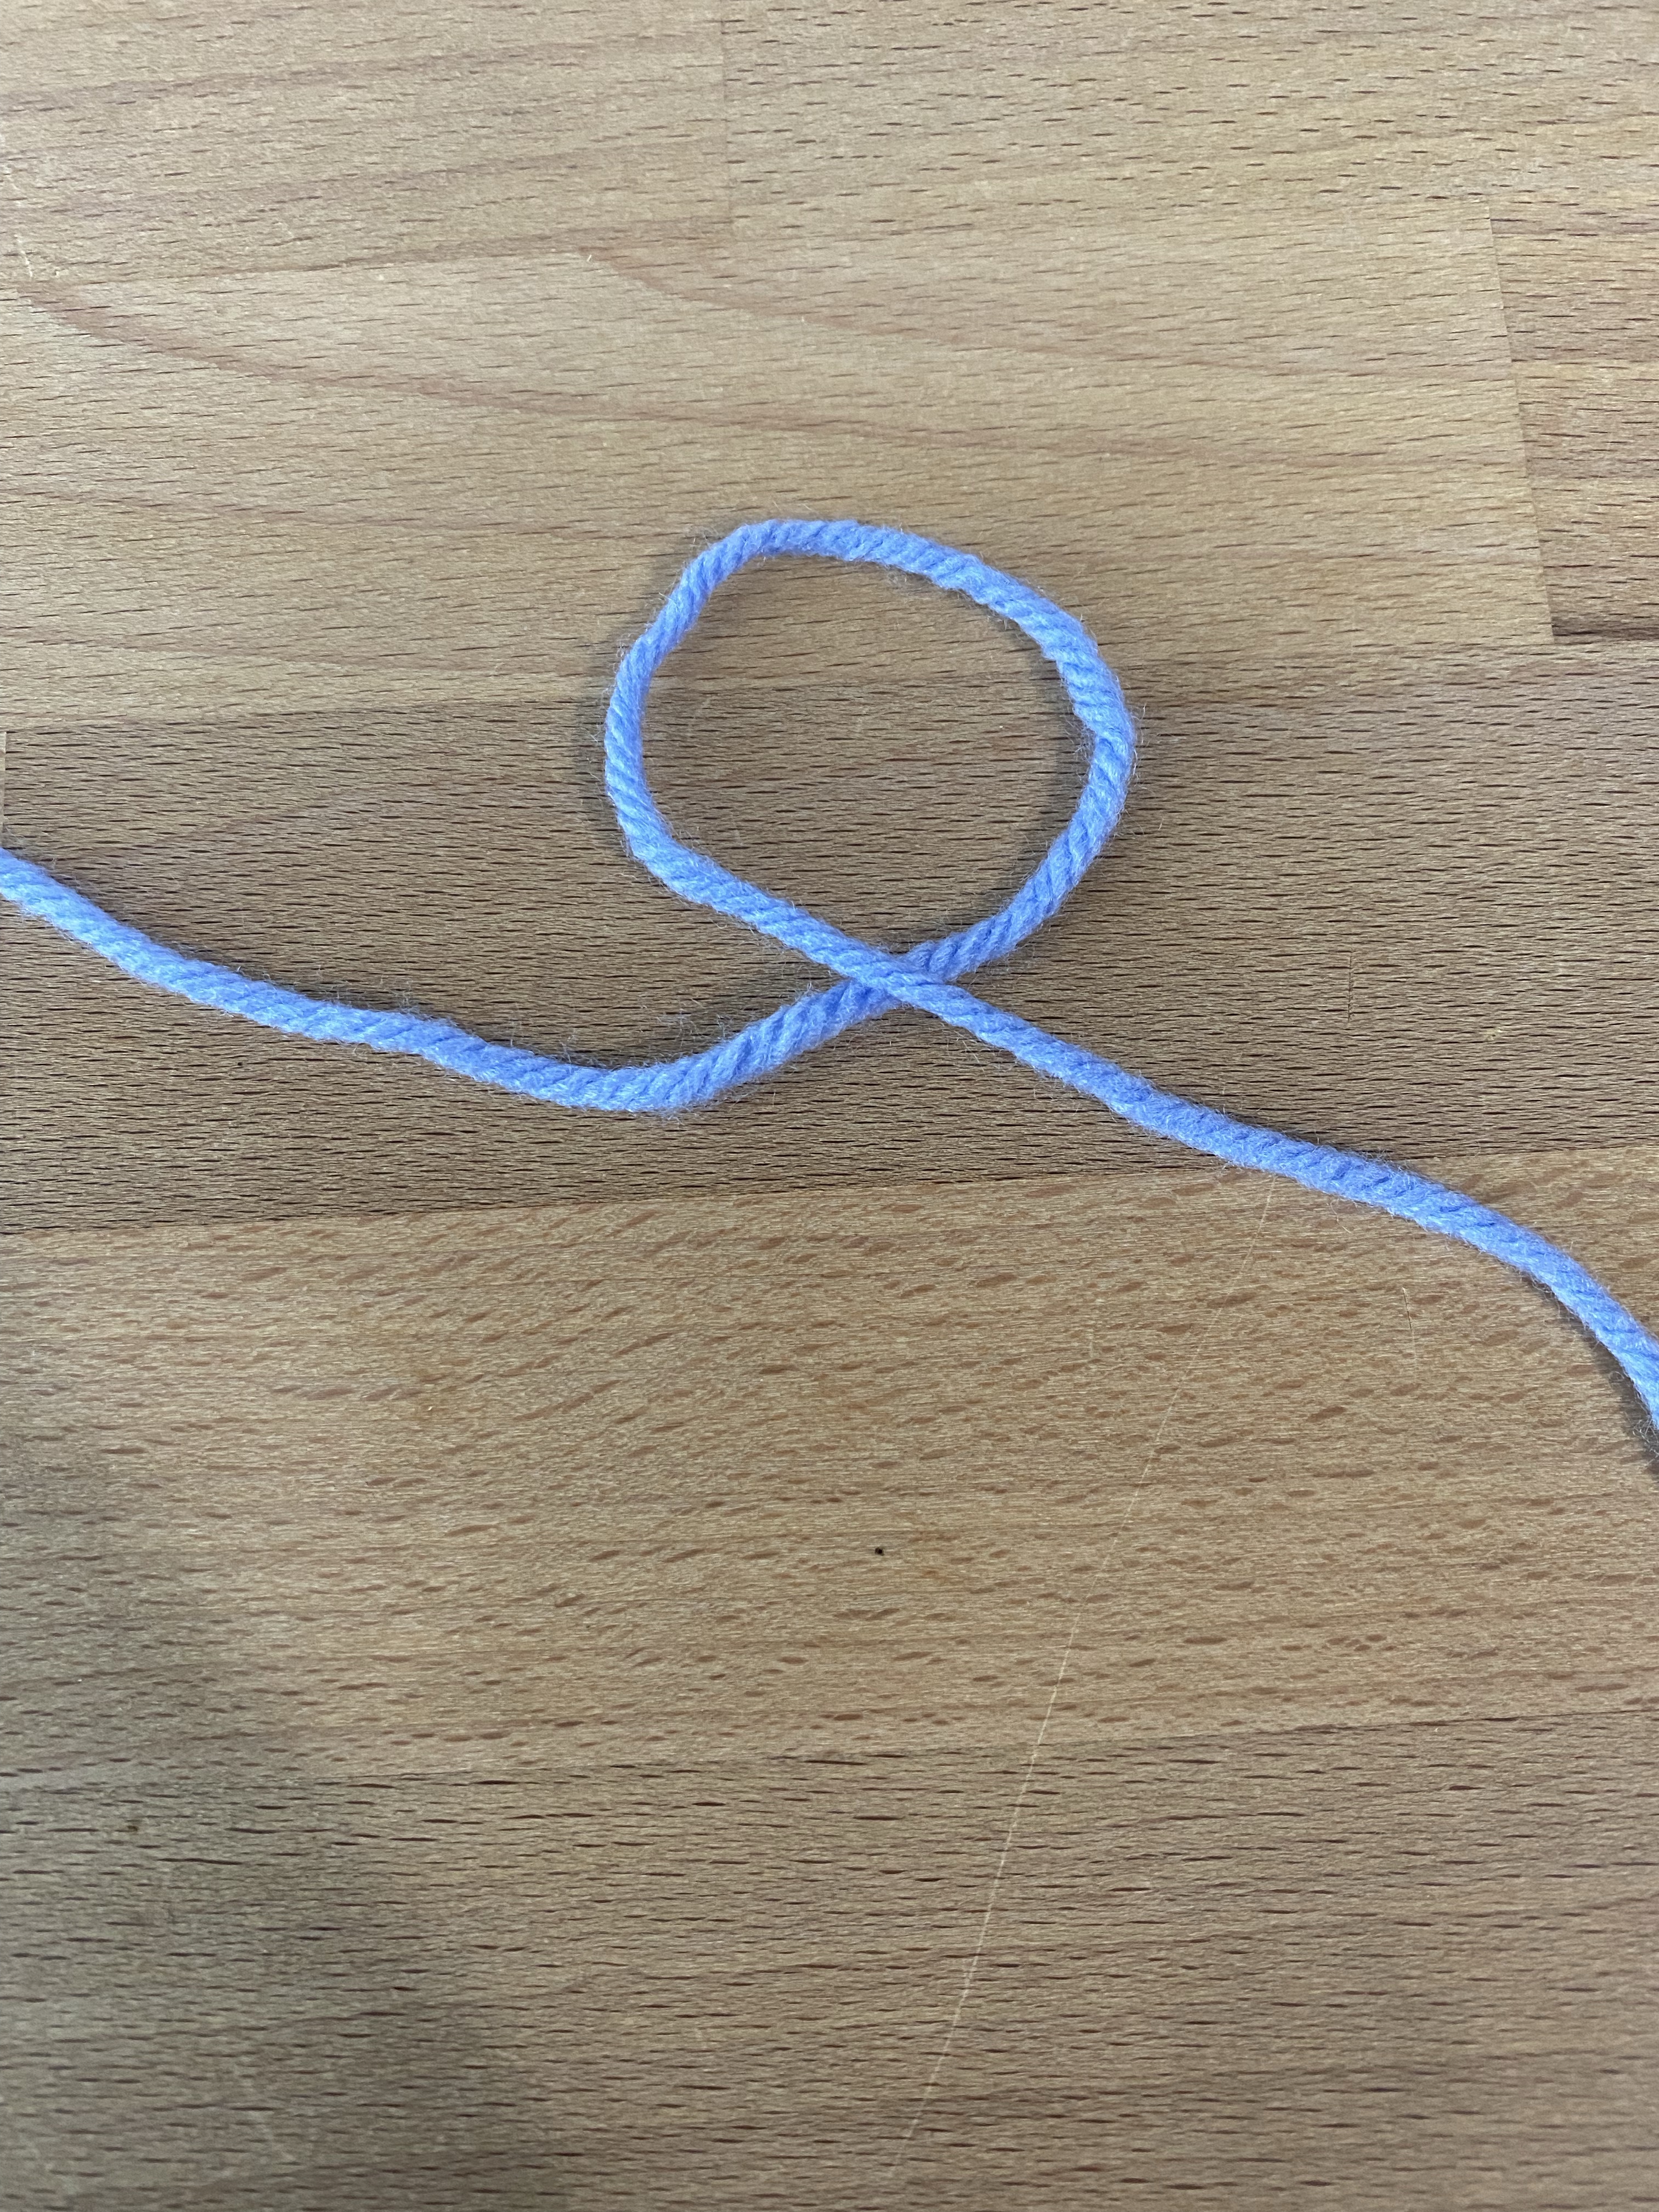
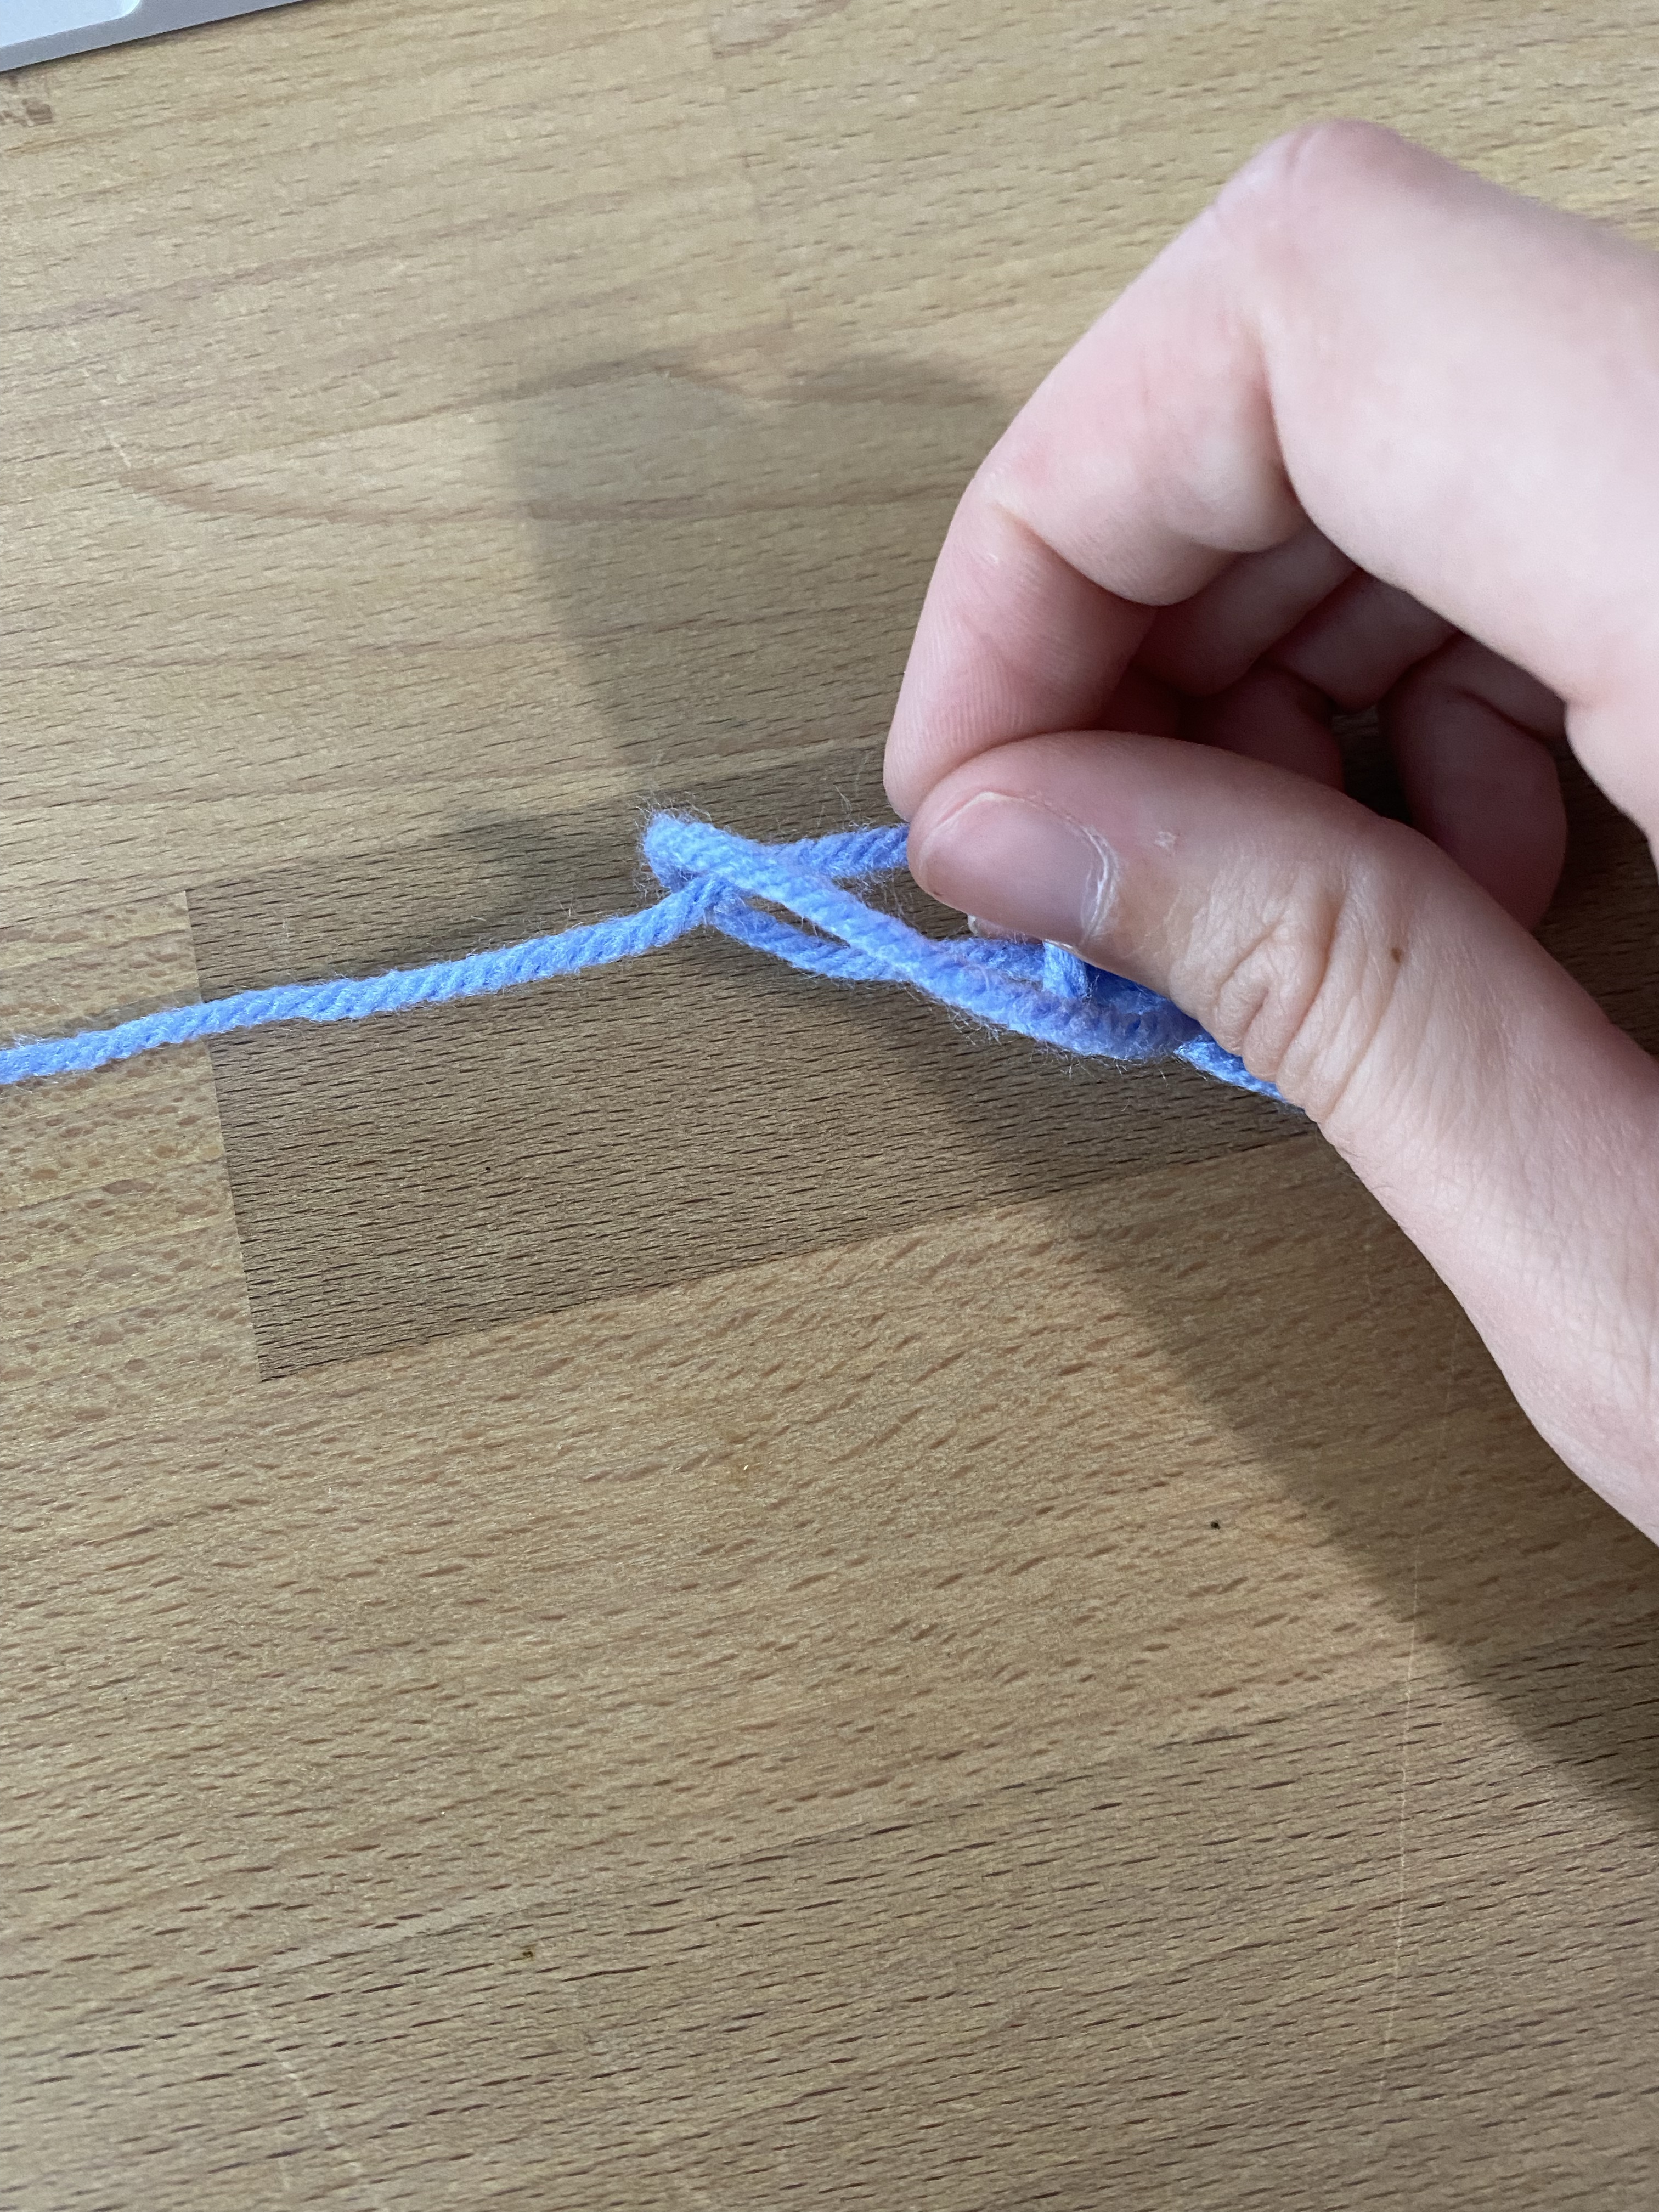
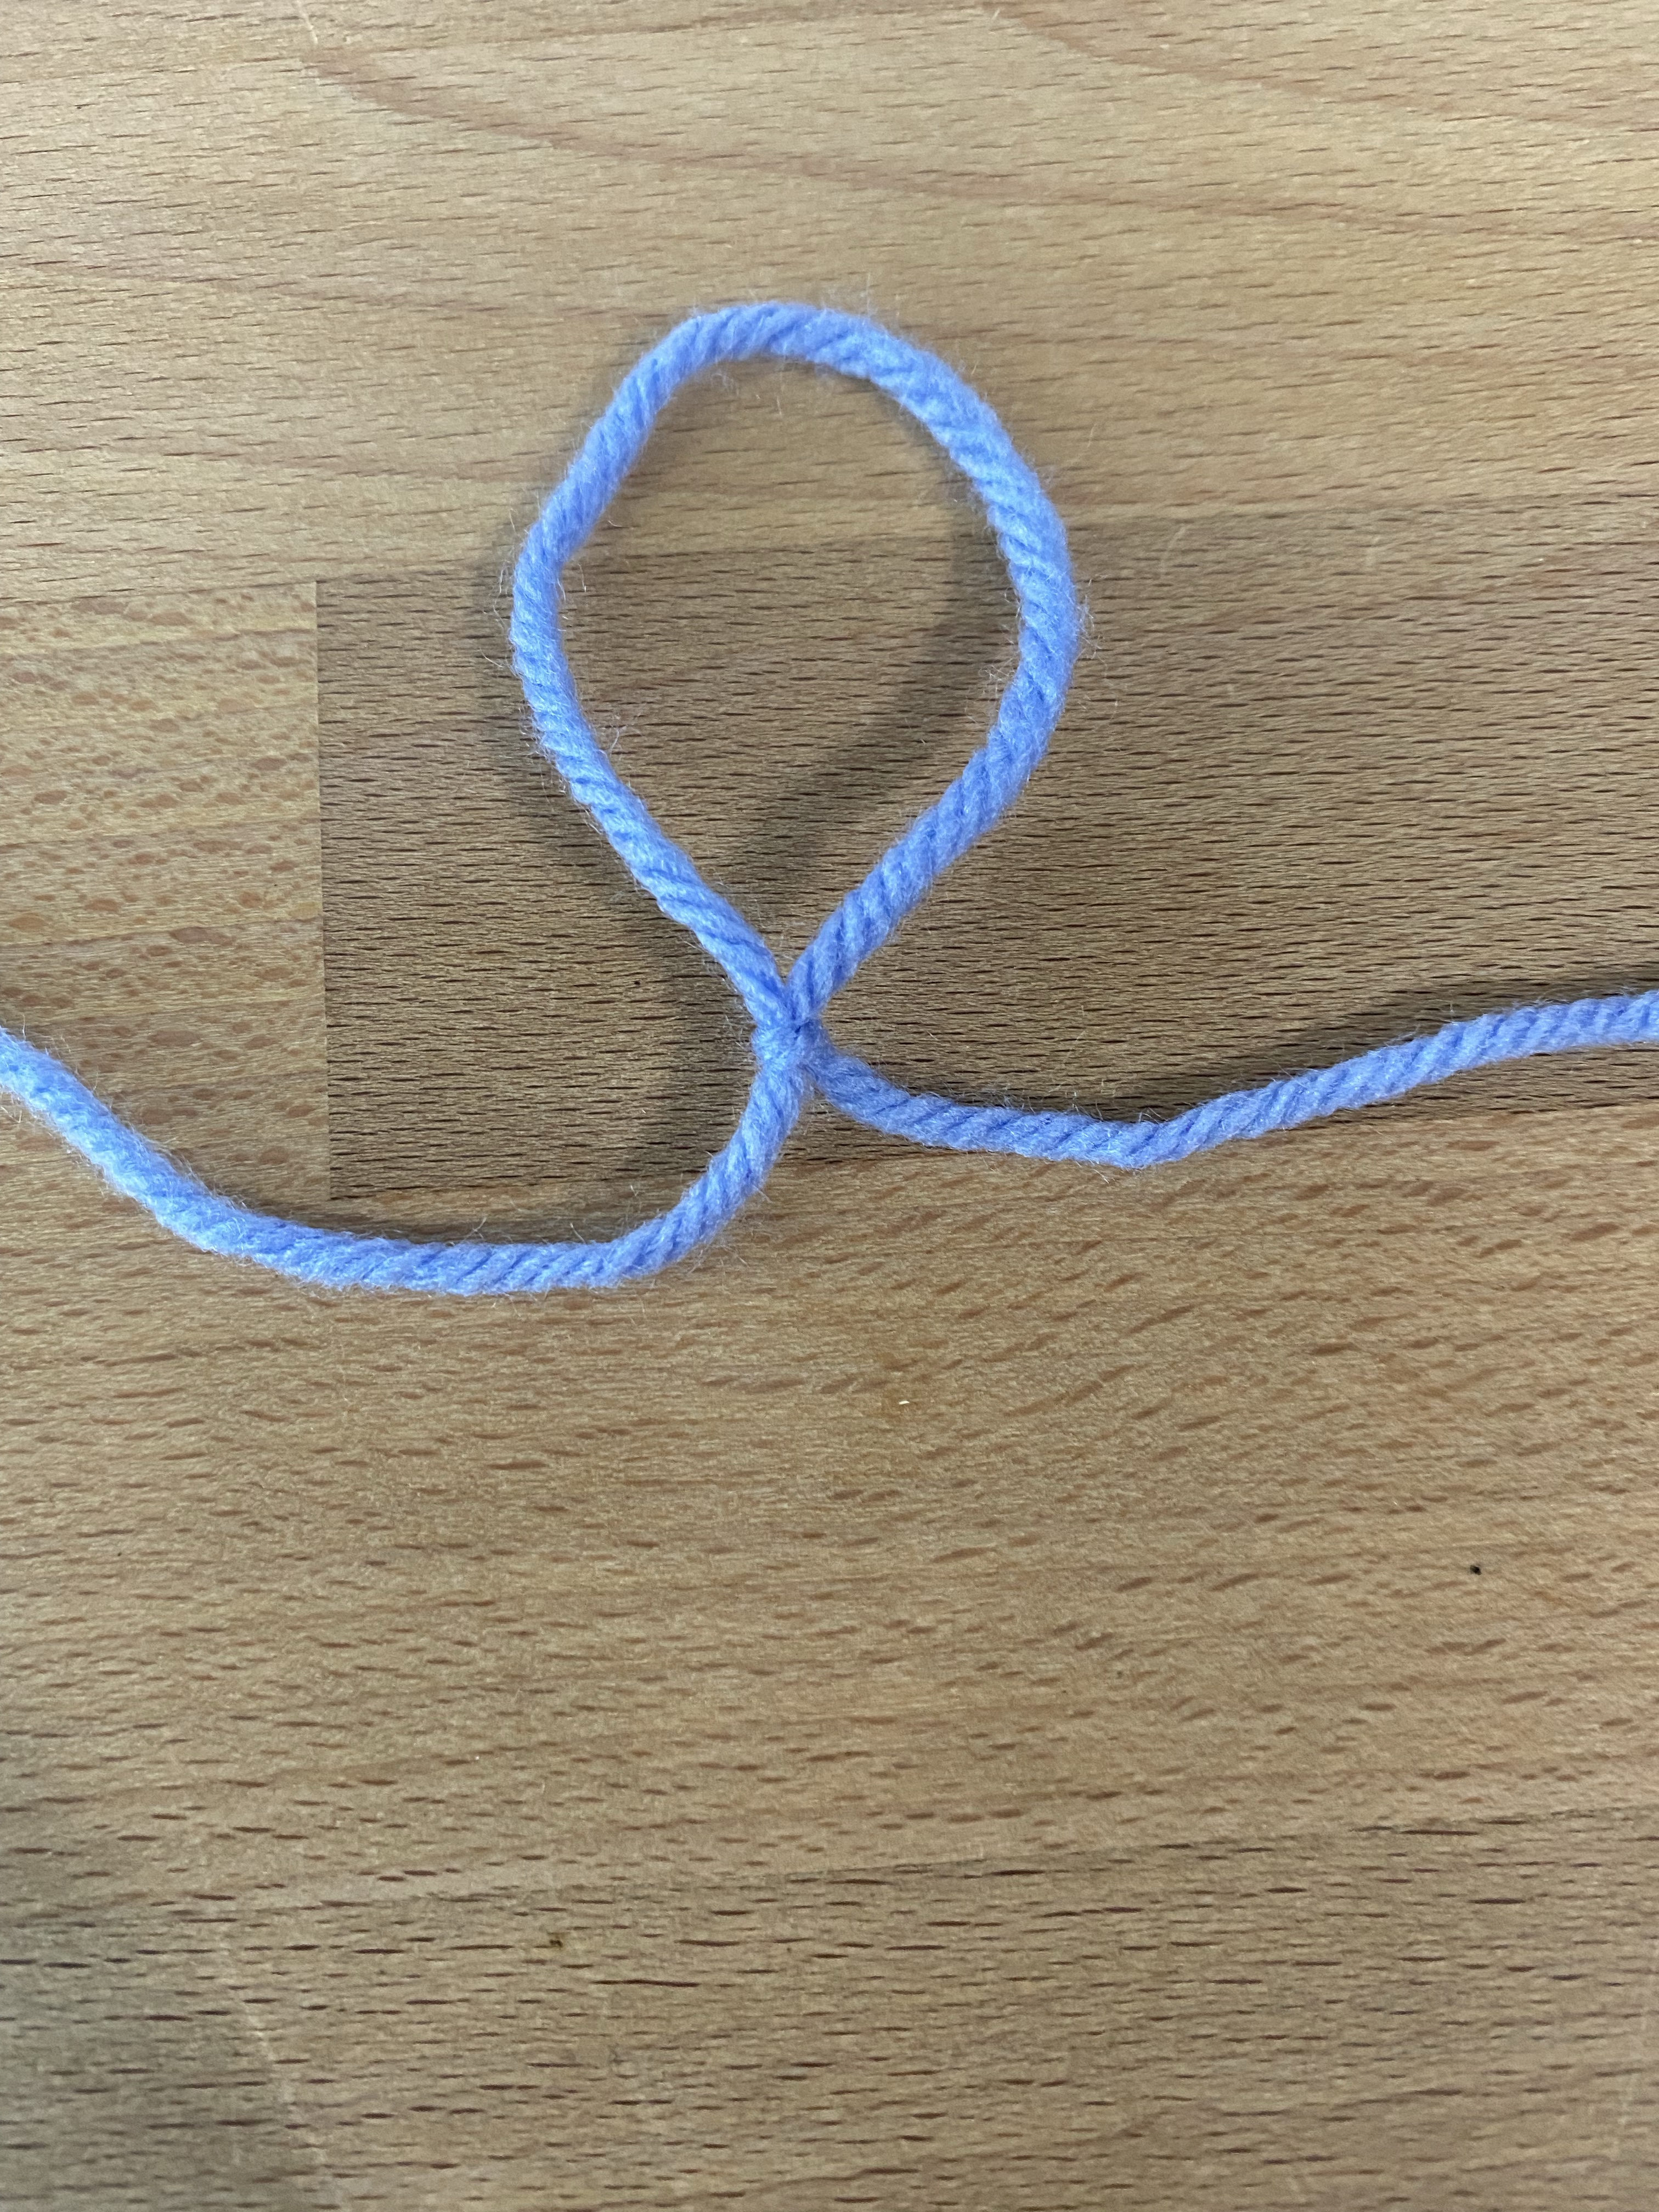
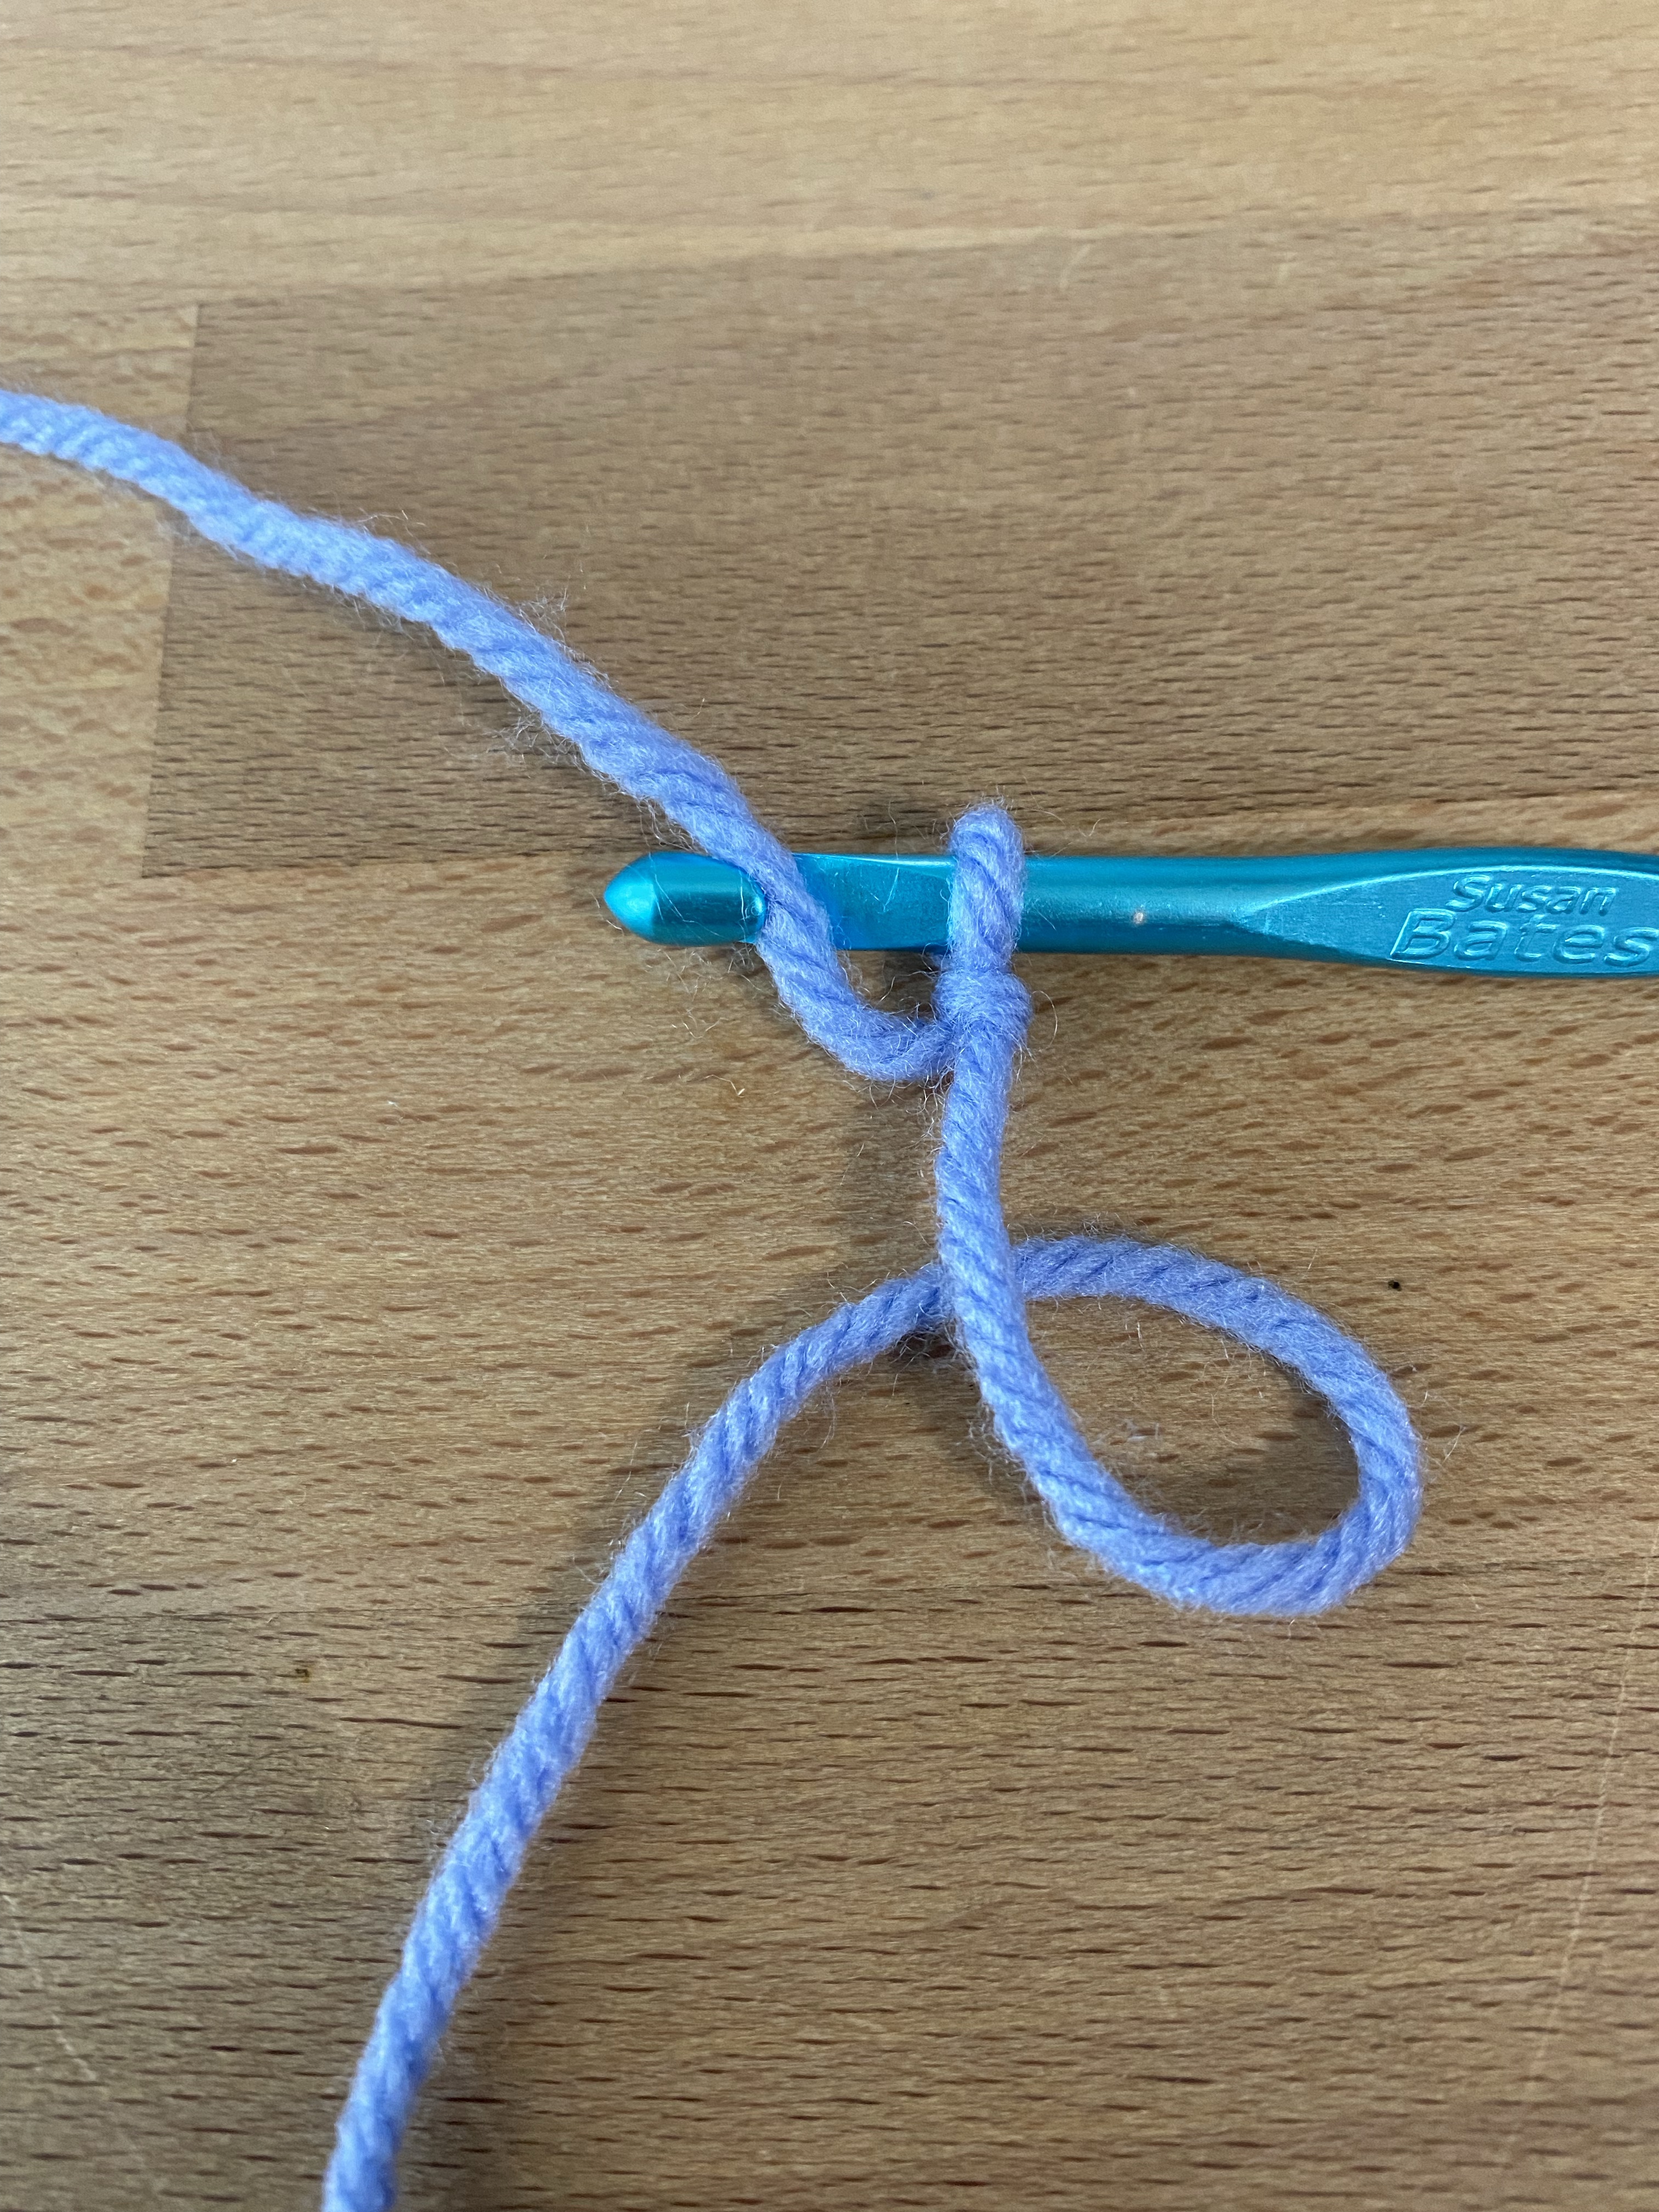
To start with the chain, we are going to start with a slip knot. To make a slip knot, twist the yarn on itself to create a circle. Reach through the loop and grab the yarn and pull through. Pull tighter until a knot forms on the yarn. This knot should come out easily if we pull the two sides of the yarn and should be able to be smaller so it doesn’t slide on the hook.

Once you’ve mastered the slip knot, place it onto the hook and pull tight. It should be snug enough that it doesn’t fall off but should be able to move slightly.
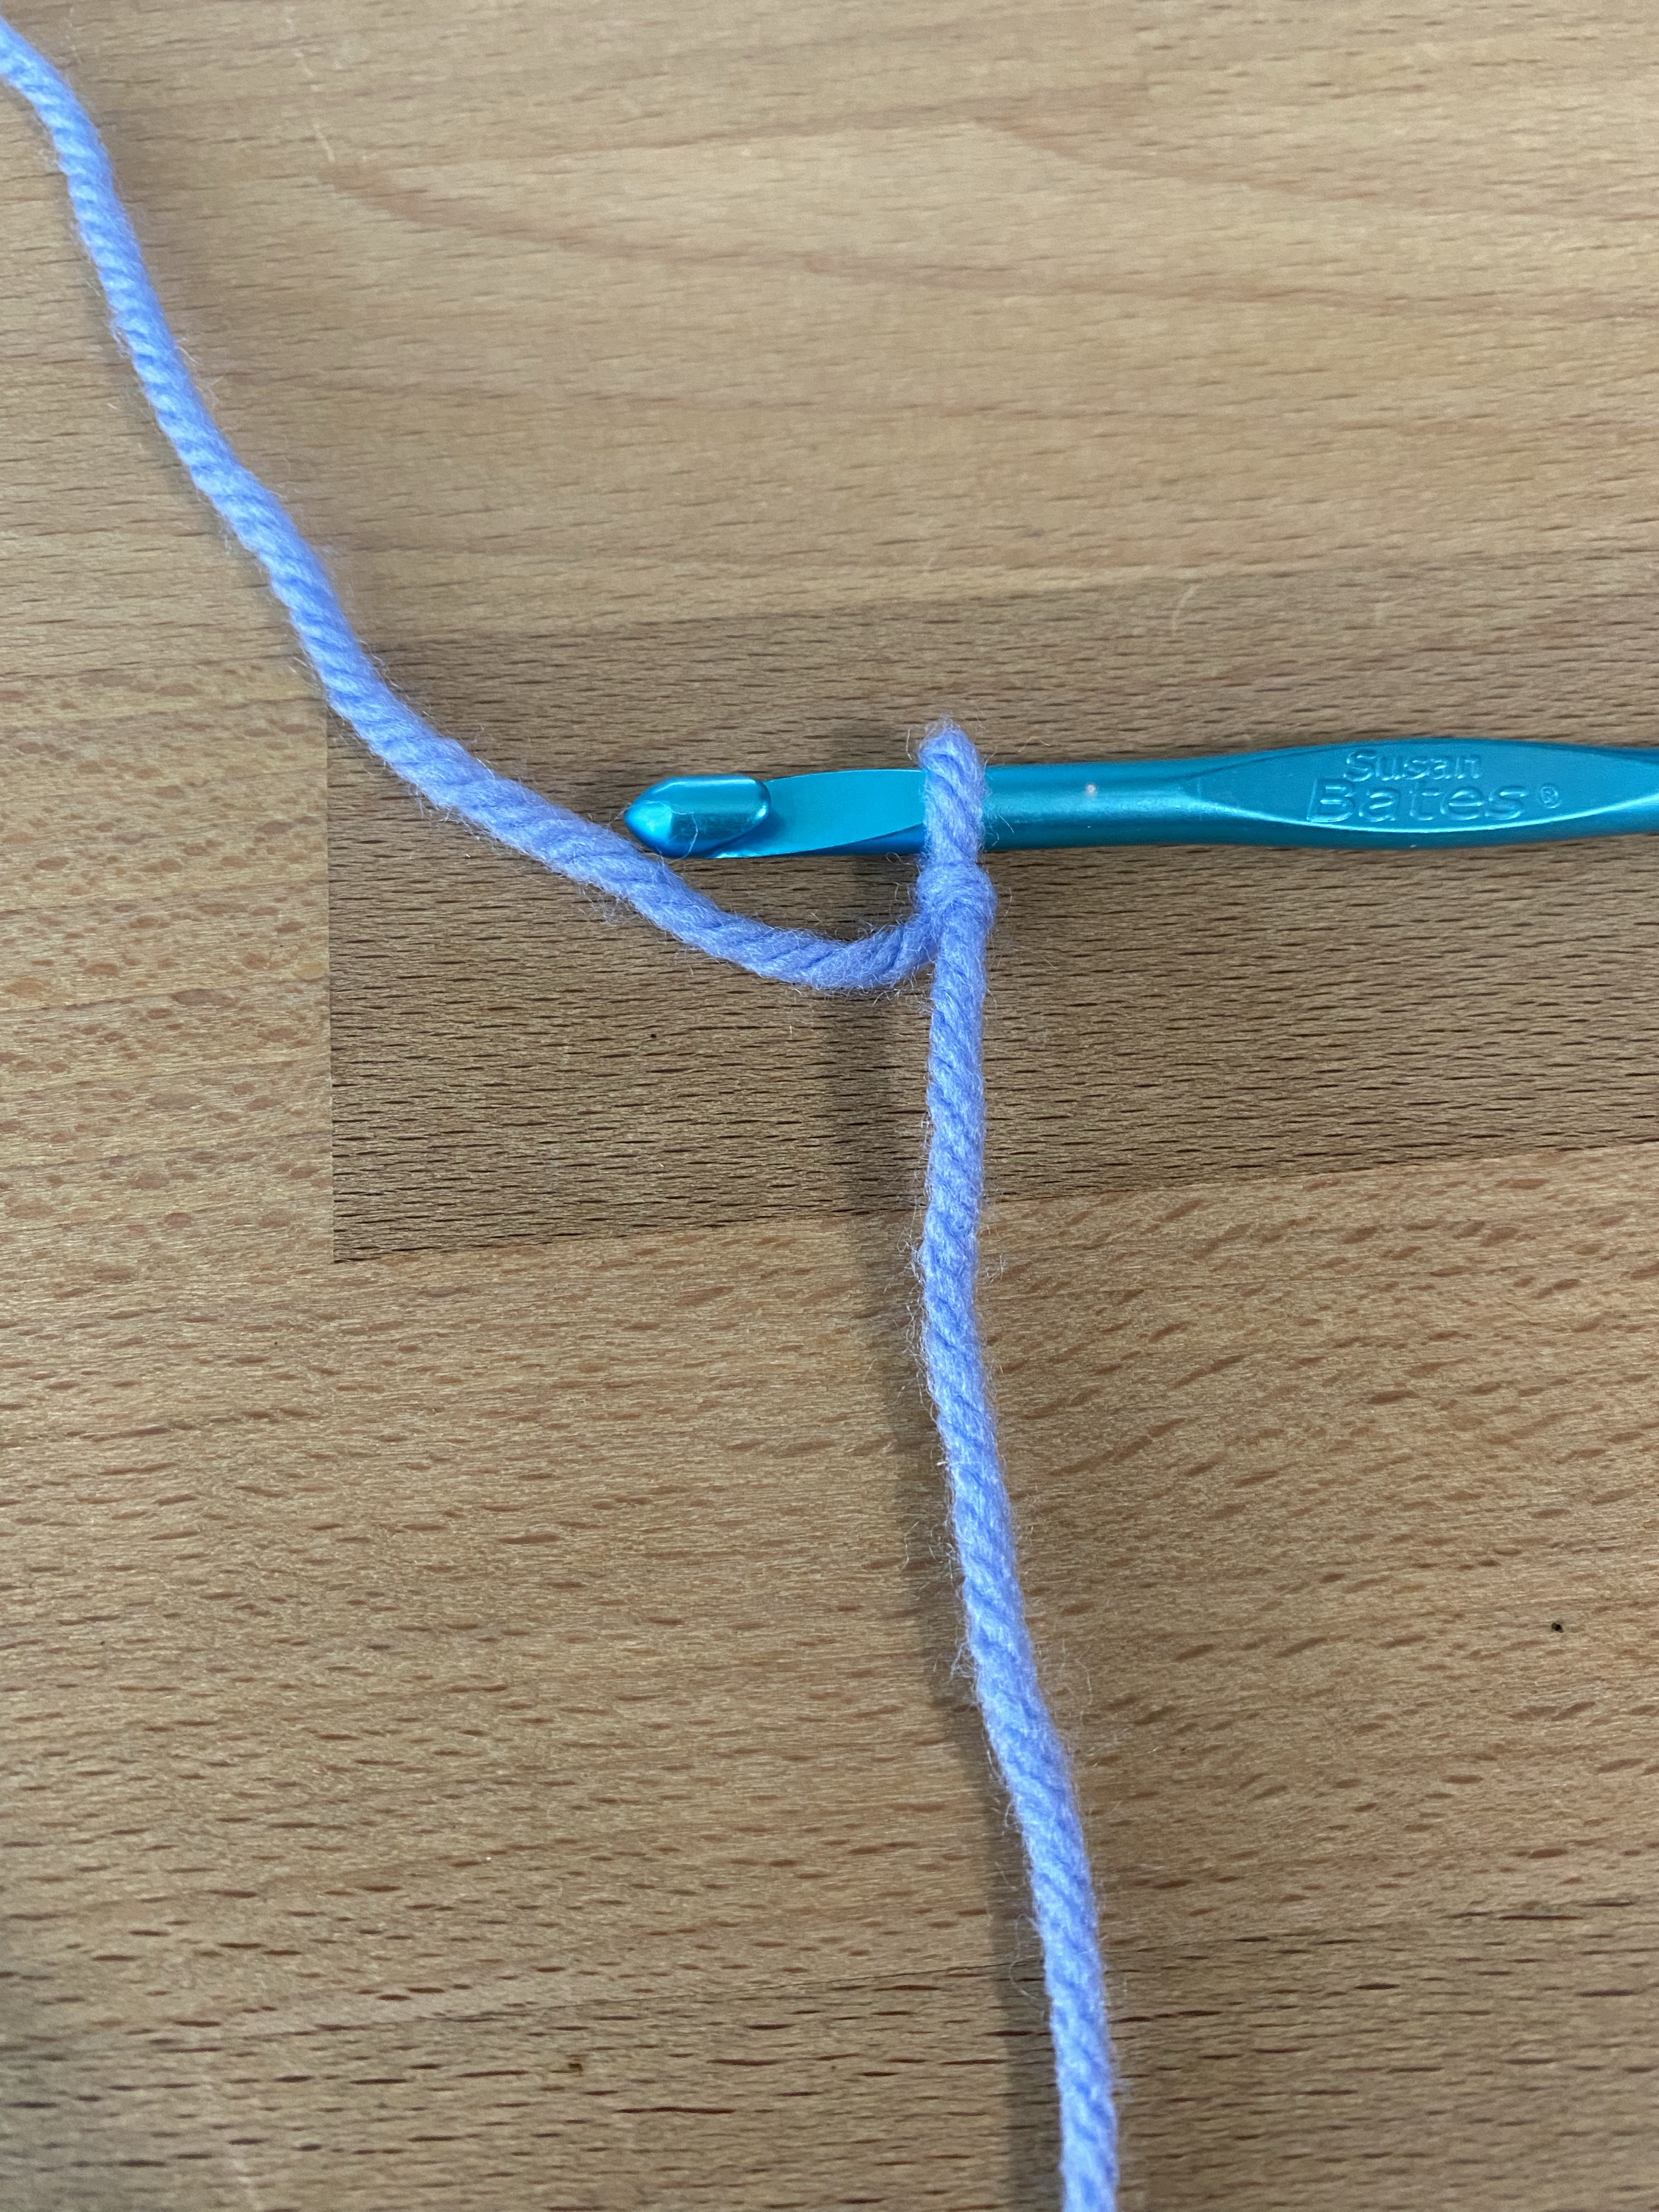
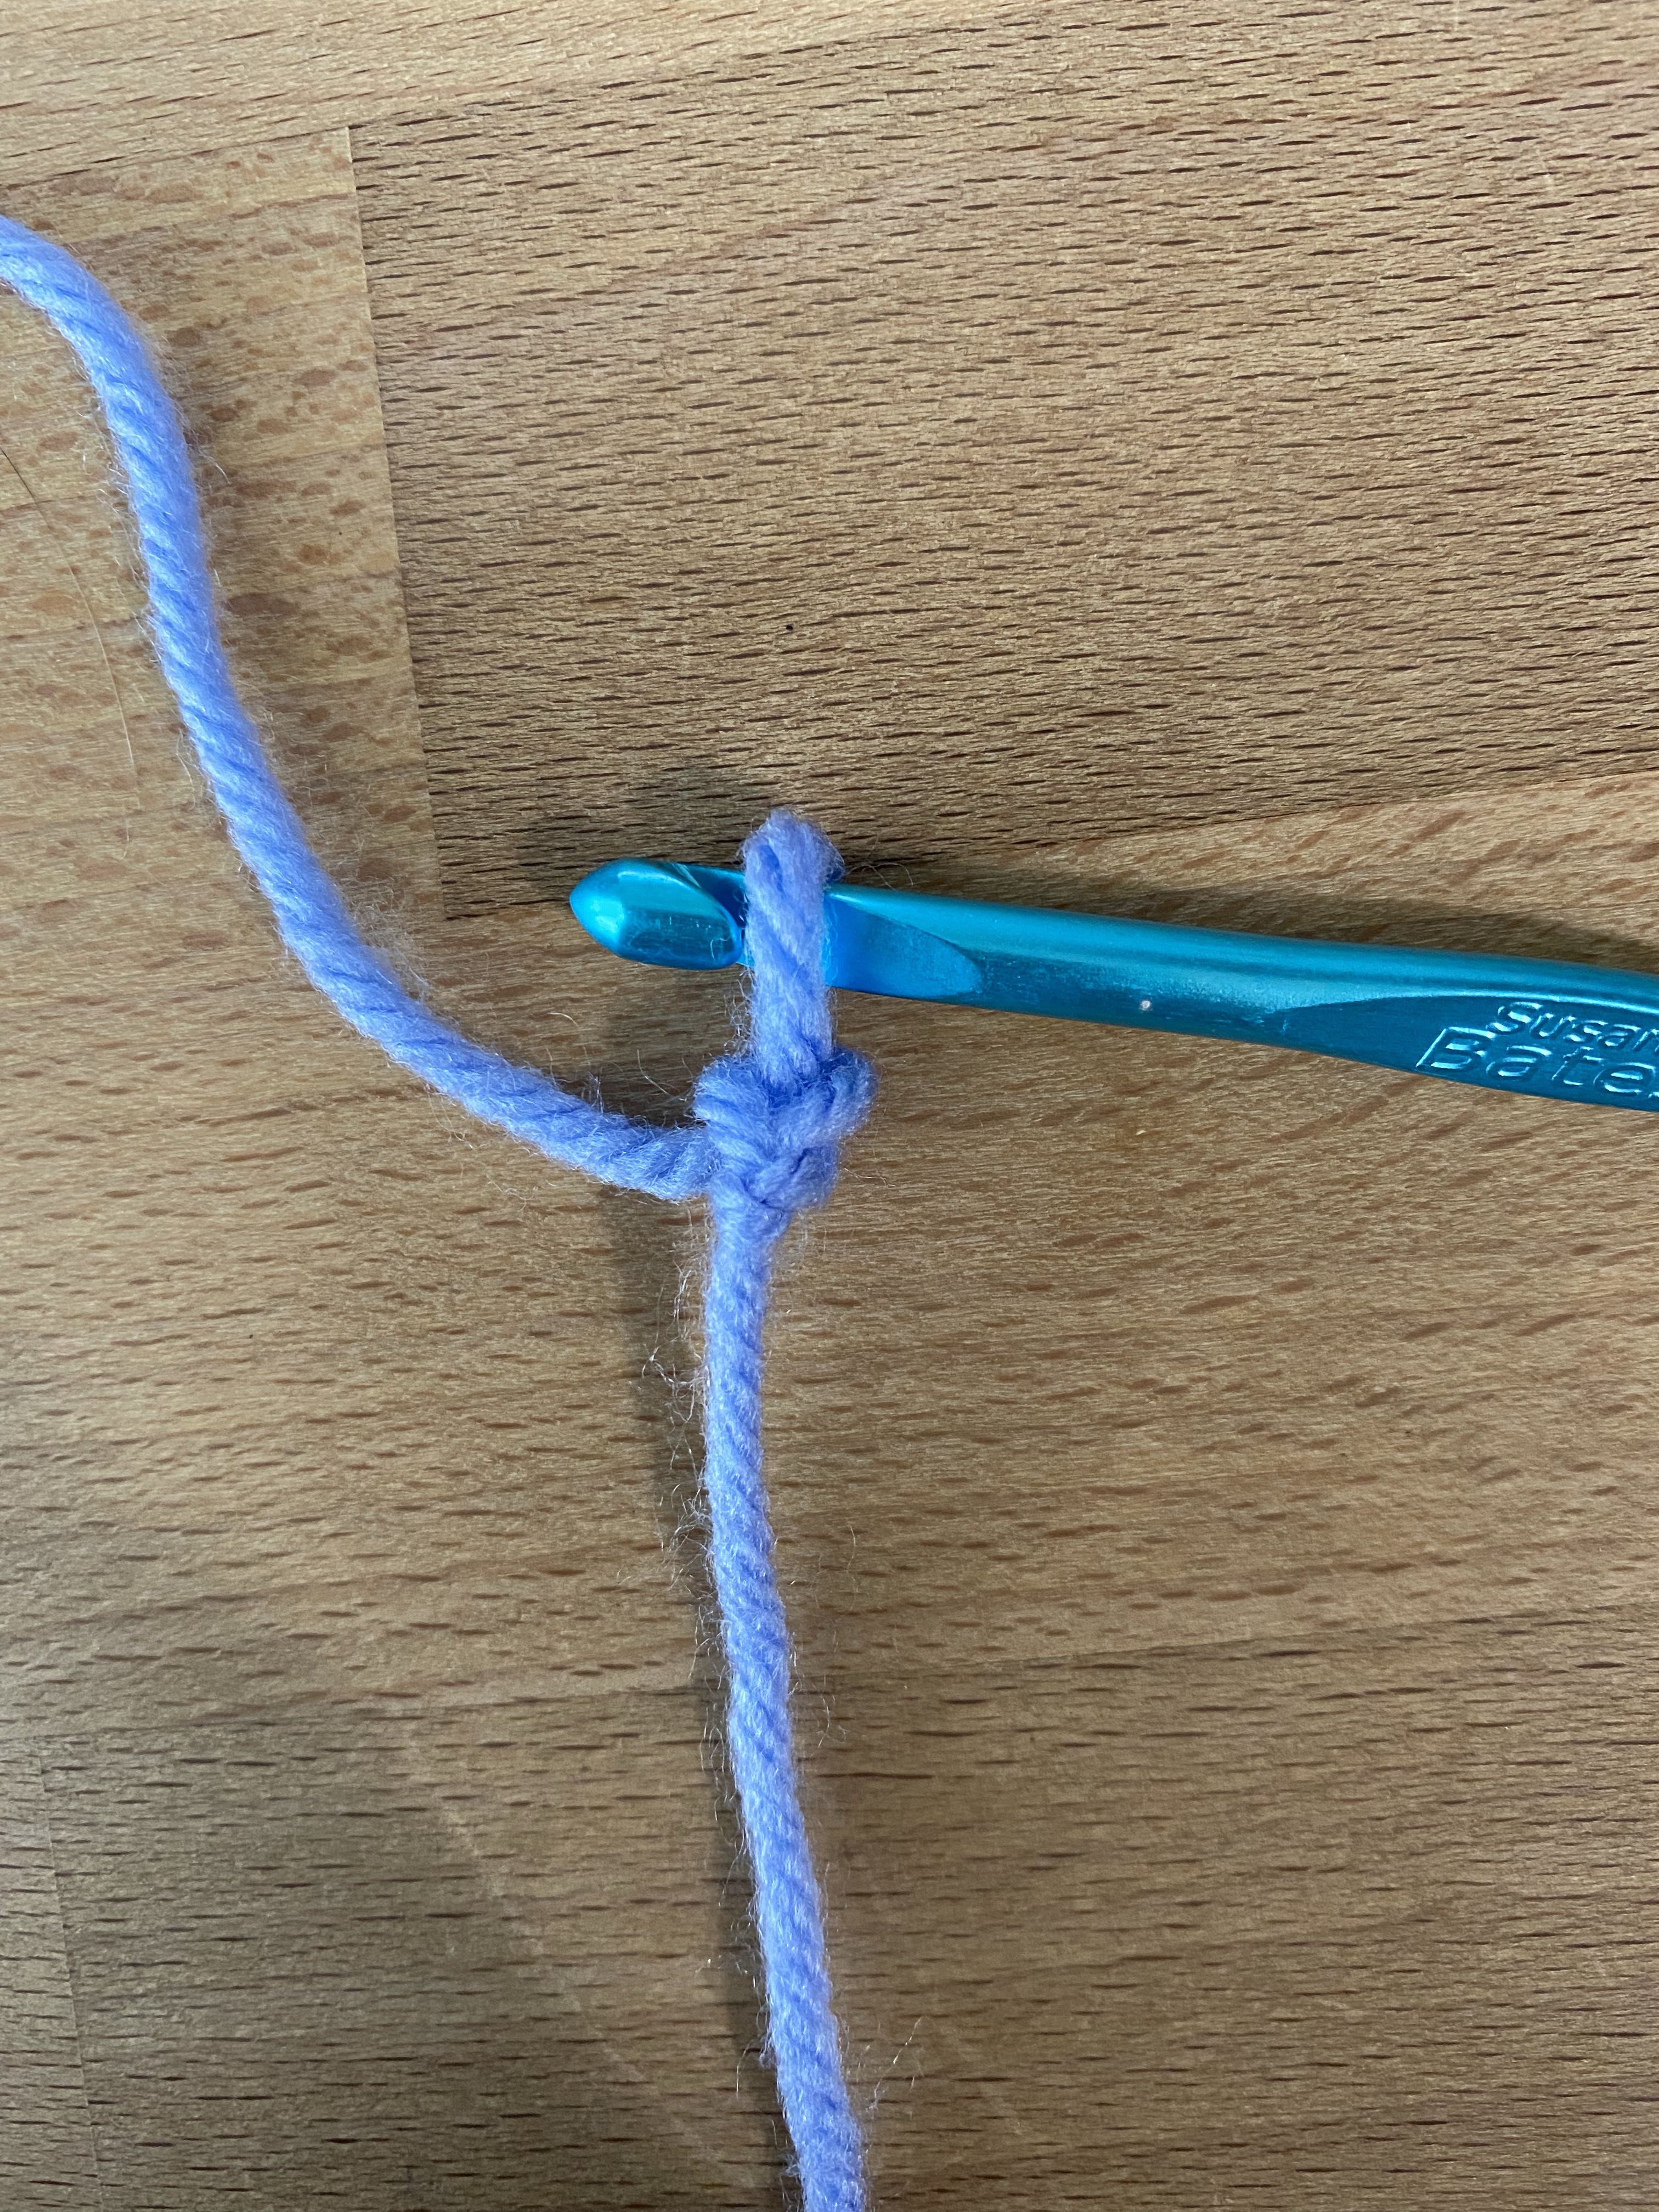
The make an official chain, place the working yarn (the yarn that is attached to your skein or ball of yarn) and pull it through the slip knot loop on your hook. Doing this, the loop on your hook should be your new loop and not the slip knot.
That was 1 chain (or ch 1 in crochet terminology).
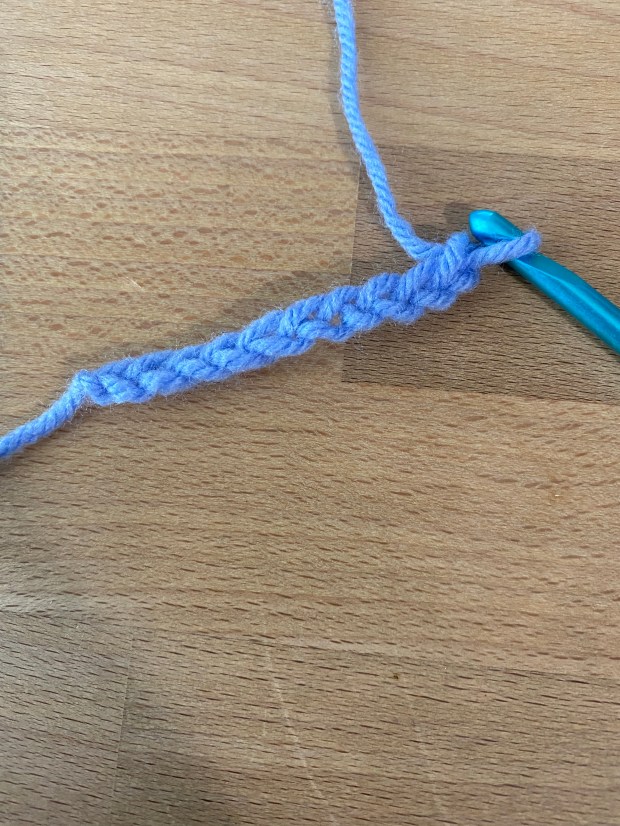
To make more chains, continue the same process of pulling the working yarn through the loop. The more chains you add, the longer it will become.

One thought on “How To: Slip Knot and Chain”